The following article will assist you in setting up your archival storage using Veeam
Archiving in Hive has changed!
Customers already utilising Probax's Honeycomb Cold archival storage will need to visit this KB Article explaining how to move their current archival jobs to the new method. This process is easy, and will take approximately 1-2 minutes per backup job.
1. Configuring Backups in Hive for Archival storage
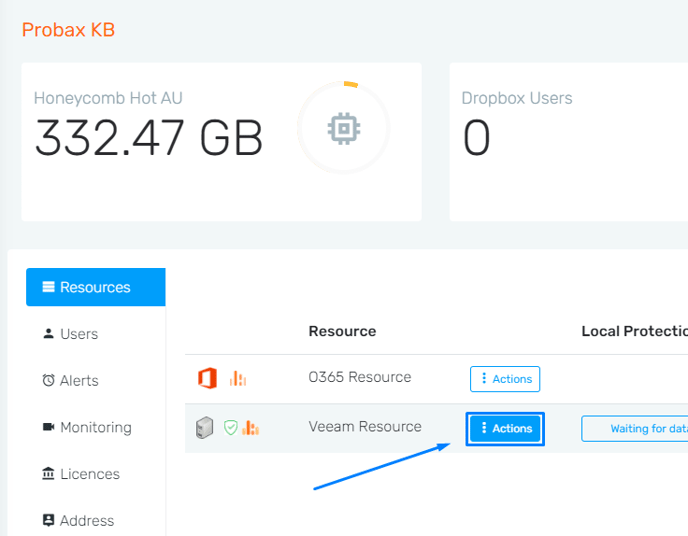
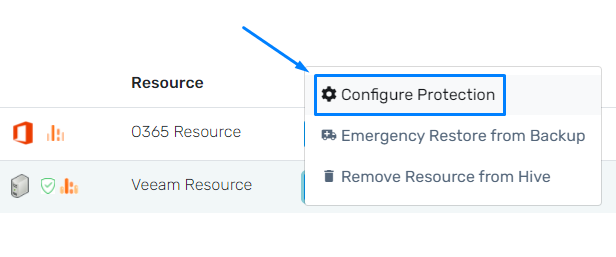
To get started, head to your customer's account Hive, and locate the 'Configure Protection' menu for the Veeam resource in question.
In this menu, navigate to the 'Archive' tab, and select 'Enable Honeycomb Cold Archive Storage':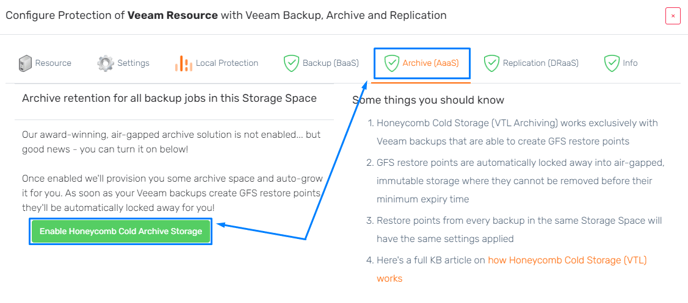
Customers on our 'Trial' or 'Flex' partner types won't be able to utilise Honeycomb Cold storage. Get in touch with your Partner Manager to discuss your options.
Refresh the 'Archive' tab, and select the Archive retention settings you would like and hit 'Save Retention Settings'.

2. Restoring Honeycomb Cold Storage Images
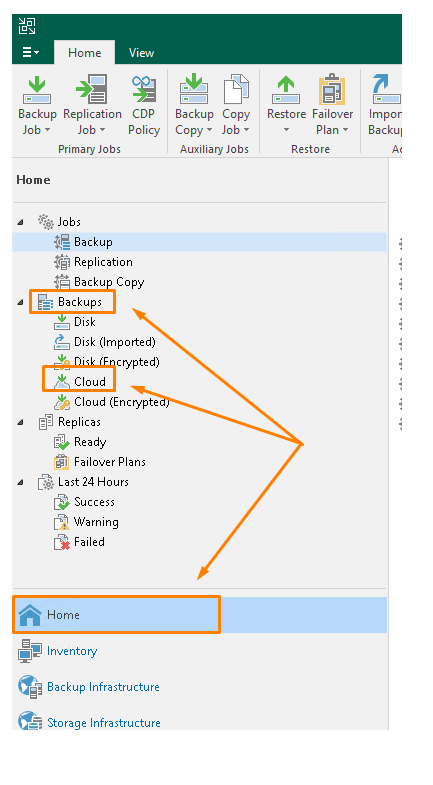
View your already established restore points using the 'View' tab corresponding to that same resource.

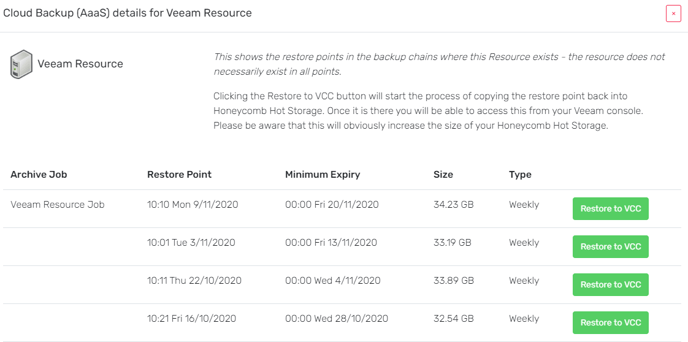
Then, hit the 'Restore to VCC' option next to the image you would like to push into Hot storage. Depending on the size of the image, restores can take a considerable amount of time move files from immutable storage to hot storage. Check back on this area regularly to find the restored file's progress.
Rescan the backup repository, and check the backups->Cloud solution to find the .vbk in the backup files list.