To change previously configured backup jobs with Archiving enabled, you will need to perform the following steps
-
Decommission your previous archival cloud-backup job
-
Re-create the backup job utilizing archival storage
-
Double check your retention in Hive
Decommissioning your previous archival job
Best-practice tells us that any pre-existing jobs currently running to the cloud backup repository should be 'disabled' whilst making adjustments as per the instructions below.
Veeam Agent for Windows users can perform these same steps in the backup job's settings.
- Head to the 'Home' tab of the customer's Veeam Backup and Replication console, and locate the backup job in question. Right-click this and hit 'Edit'.

- Rename this job include a suffix that indicates this is decommissioned (we recommend '_old' or something similar).
- Take note of the configuration of the job, cycling through the different properties and settings that have been allocated previously. Save the settings of the job by hitting 'Finish'.
- Disable the job, by right-clicking and hitting 'Disable'.
Creating a new cloud backup job
- In the 'Home' are of Veeam, start by creating a new job with the same name (discarding the suffix applied previously), as well as the following changes:
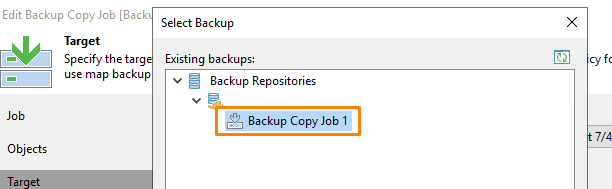
- In the 'target' tab, please ensure the backup repository drop-down has your cloud backup repository selected. Hit the 'Map backup' button, and navigate to find your pre-existing backup copy job. If any alerts arise involving other backup jobs, they can be ignored
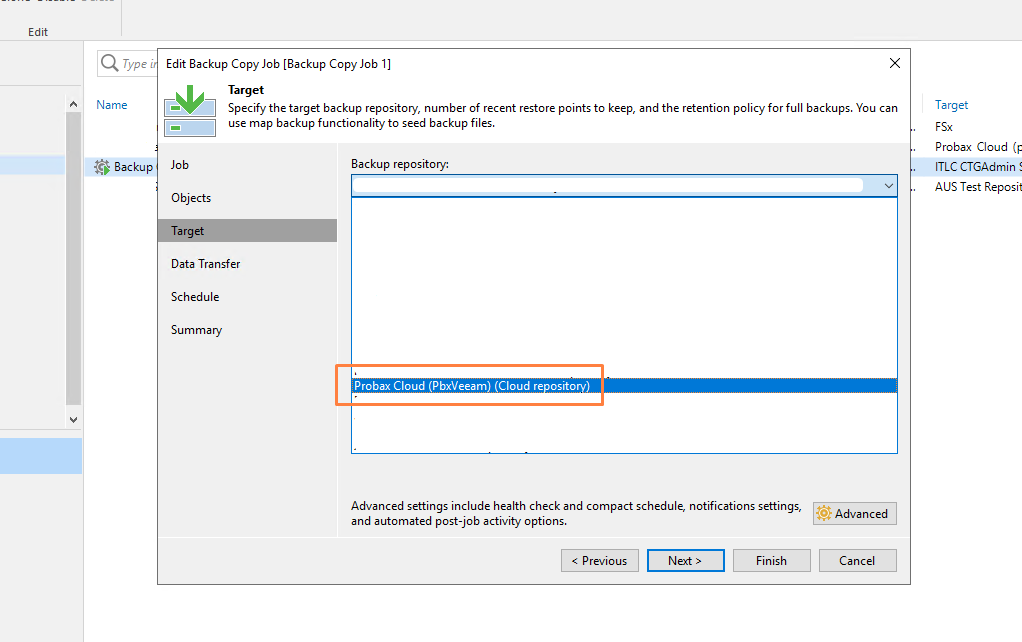
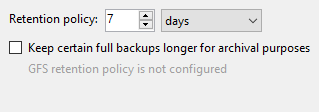
- Double-check that the box for archival images is un-checked
- In the 'target' tab, please ensure the backup repository drop-down has your cloud backup repository selected. Hit the 'Map backup' button, and navigate to find your pre-existing backup copy job. If any alerts arise involving other backup jobs, they can be ignored
- Cycle through the rest of your settings, ensuring all the correct settings have been configured
Configure the archival retention in Hive
For most customers, this will already be configured as per your previous job's settings. However, it's important to check these settings are correct, as archival images are made as soon as we receive data from the job you just created.
-
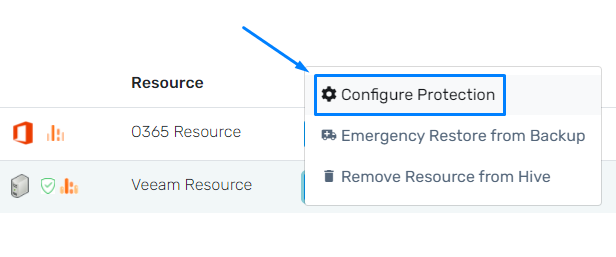
To get started, head to your customer's account Hive, and locate the 'Configure Protection' menu for the Veeam resource in question.
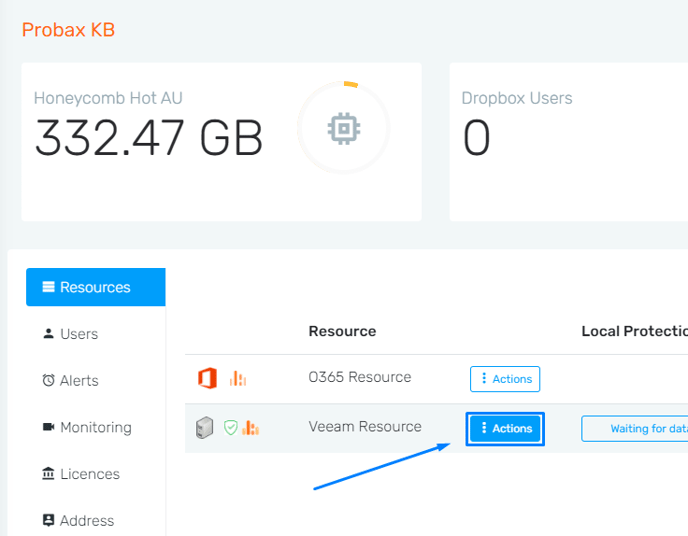
-
In this menu, navigate to the 'Archive' tab and enter in/confirm the retention you would like to set for archival storage.

- Allow 24 hours for images to be created, and review our How to: Honeycomb Cold Storage article for more information on restores.