How To: Create New End-Customer Accounts & Users
Customer Accounts allow you to organize, monitor and manage your customers with ease. Users allow you to monitor, separate and restrict access to protected resources within each Customer Account.
How to create a new end-customer account:
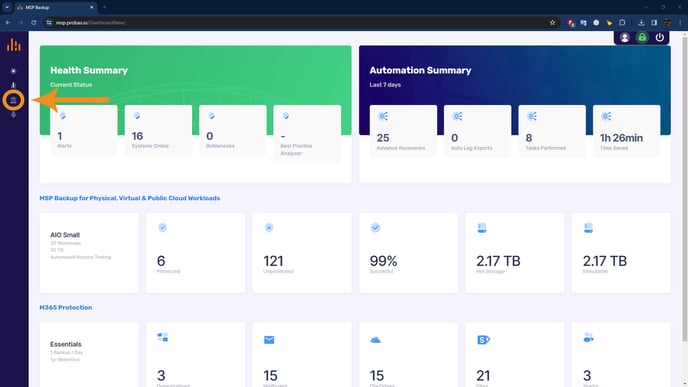
1. Log In: Access the Probax platform with your credentials and select 'Customer Accounts' from the left menu.
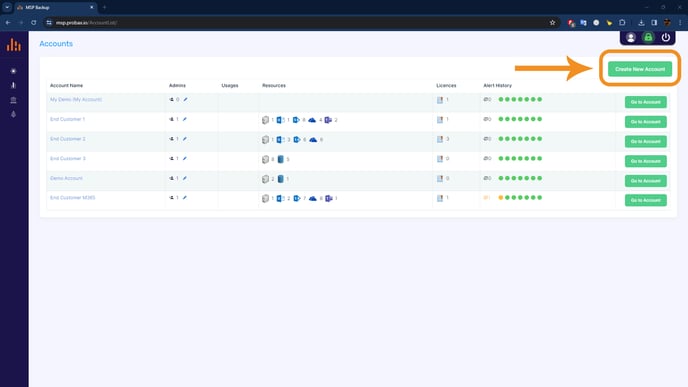
2. New Account: Click 'Create New Account' at the top-right of the Customer Accounts section.
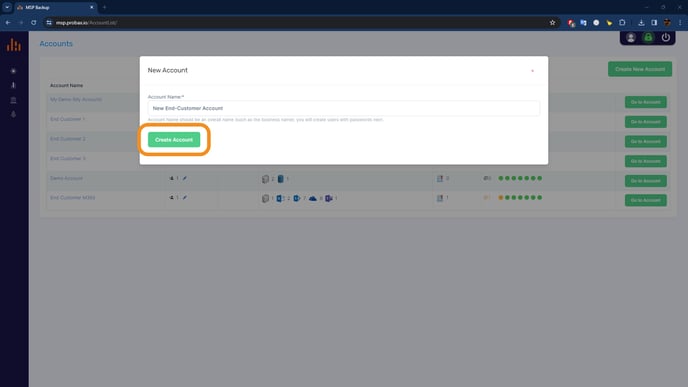
3. Business Name: Input the end-customer's business name for the account and click 'Create Account'. Alternatively, enter a unique identity for the end-customer account.
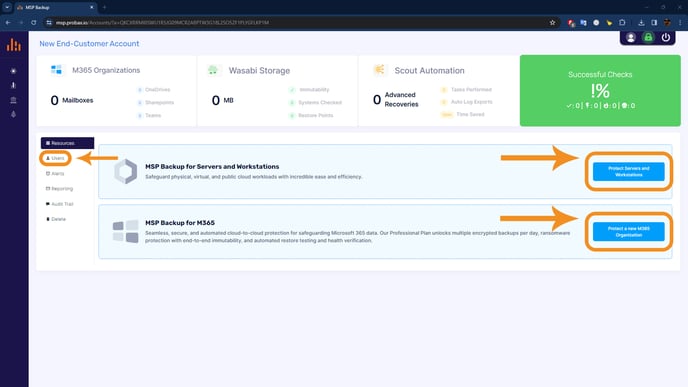
4. Confirmation: Upon creation, the page will reload for you to add users or setup server, workstation or Microsoft 365 protection.
How to create a new user account:
Automatic Creation: User accounts required for server, workstation, or Microsoft 365 protection are automatically generated by Probax during the deployment process.
Manual Creation: Create user accounts manually only if you need to grant access to end-customers or other MSP team members who should only have access to this one account.
Admin Access: Users added to the MSP account will have automatic access to all end-customer accounts.
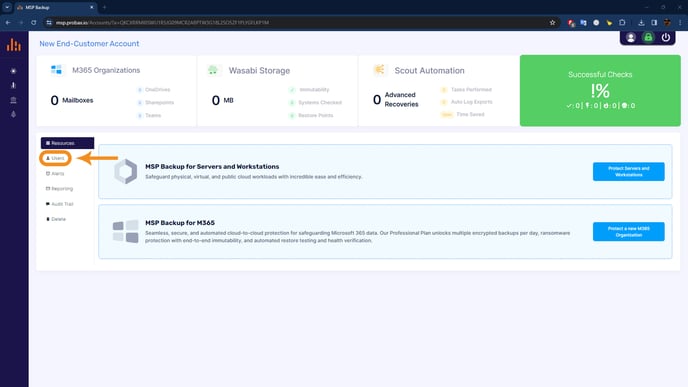
1. Access: Go to 'Users' in the menu.
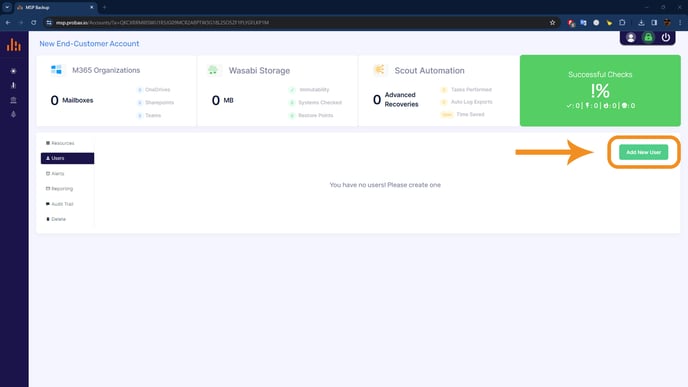
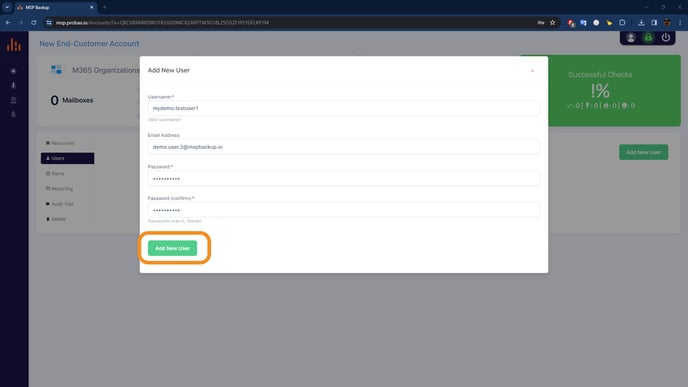
2. Initiate: Click 'Add New User'.
3. Credentials: Input a unique username, optional email for reports, and set a secure password. Click 'Add New User' to finish.
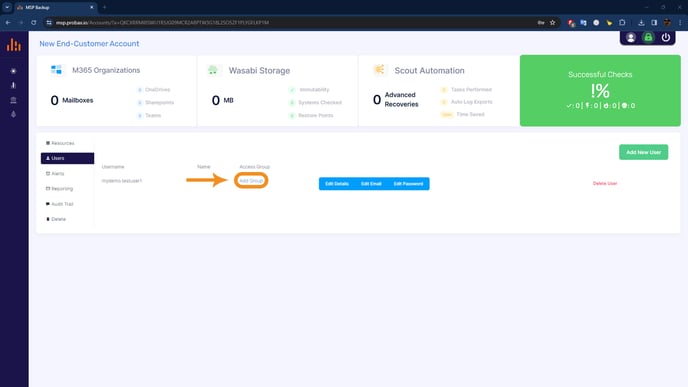
4. Groups: After user appears in the list, select 'Add Group'.
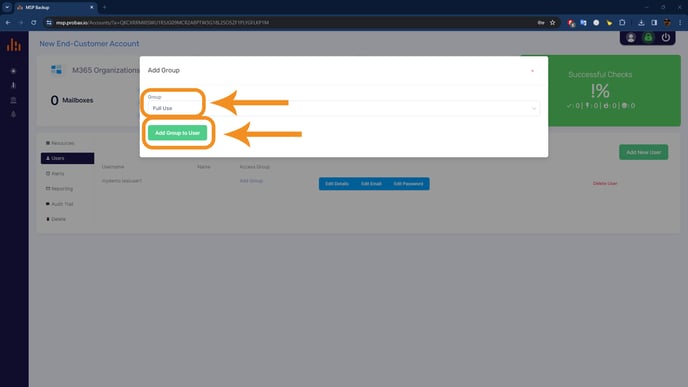
5. Permissions: Choose a security group and confirm with 'Add Group to User' (Create new security groups under MSP Settings if needed).
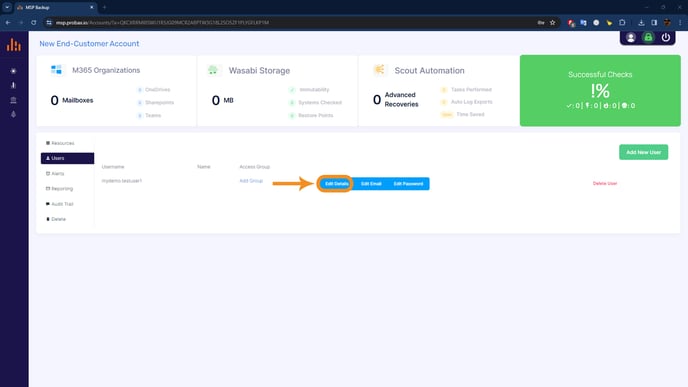
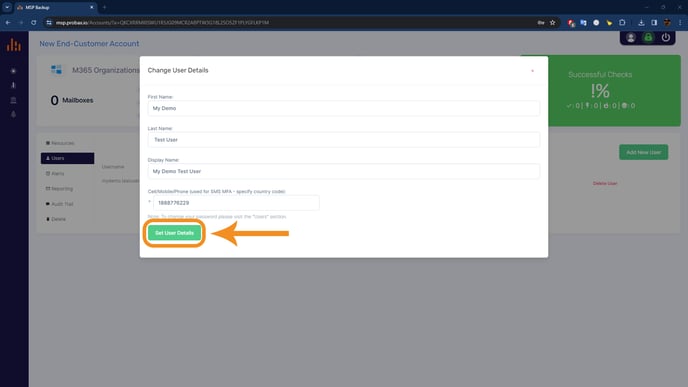
6. Details (Optional): Use 'Edit Details' to set the display name and cell/mobile number for SMS MFA, then click 'Set User Details'.
