Before assigning security groups and policies, be sure to create users for those security groups and policies to be assigned to.
How to Create Tech Account/User
1. Open up Hive and select your MSP account - this will contain "(My Account)" next to the name. 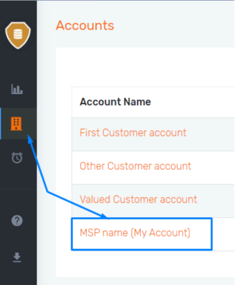
2. Select Users, then Add New User: 3. Fill in the appropriate details for the user being added and repeat steps 1-3 for each agent that will be using Hive.
How to Assign Admins to Customers
1. After logging into Hive, navigate to the Accounts Page.
2. Identify the account in question, and click the pencil icon.  3. Navigate the drop-down box and choose the ideal tech-user(s) for that account.
Assign Levels of Access
1. Open up MSP Overview window by clicking the Hive icon
2. Select Security Groups & Policies from the list
3. From here, you are able to create and edit new groups and policies for your assigned users.
4. Once you are happy with the permissions set, head back to your MSP End User Account.
5. Navigate to the 'Users' tab on the left-hand side and click on the orange text to change the access of that user. 