Restoring M365 data using MSP Backup:
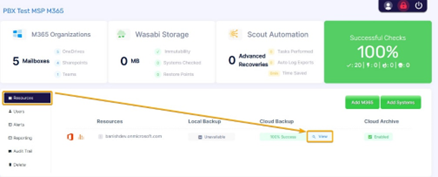
- Using MSP Backup, access the account you wish to restore from. From the Resources tab, select View under Cloud Backup:
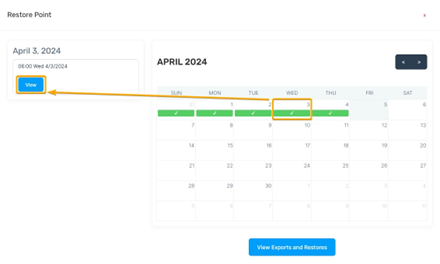
- In the new Restore Point window, select the date you want to restore from, then View:
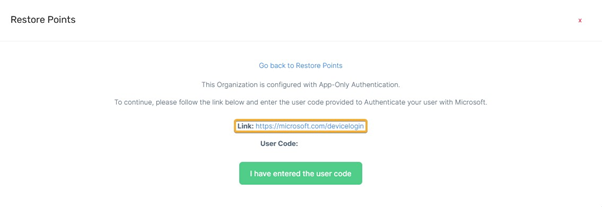
- Next, we’ll need to Authenticate with M365. Ensure you are logged in as the Global Administrator account that we created in the KB: How to: Deploy Microsoft 365 Protection, the open the Link: https://microsoft.com/devicelogin
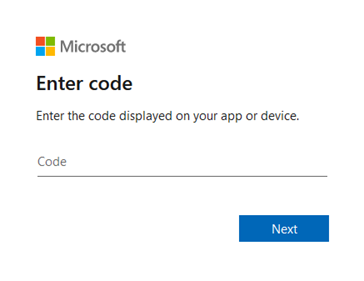
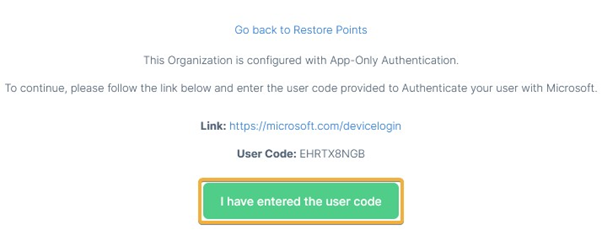
- Enter the code provided above:
- Once you’re authenticated with M365, return to MSP Backup and select I have entered the user code
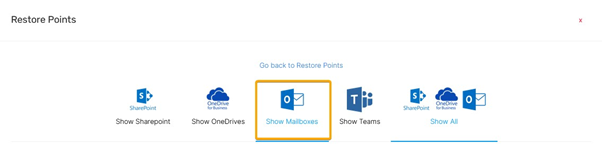
- In the Restore Points window, select the item you want to restore. In this case, we’ll select Show Mailboxes:
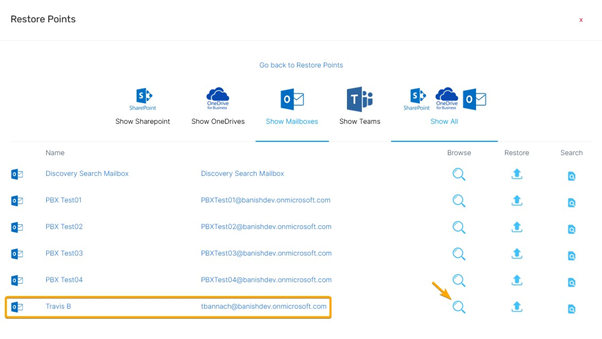
- Locate the mailbox you wish to restore and select the magnifying glass to browse the mailbox:
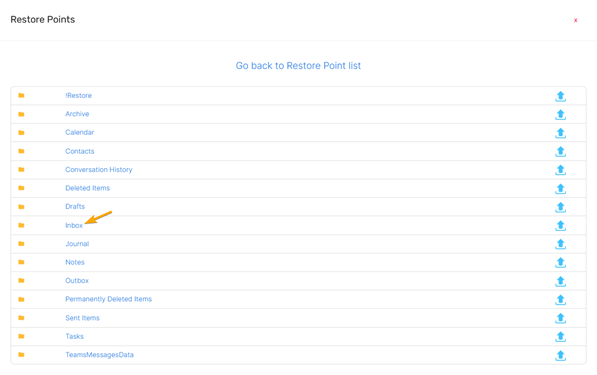
- In the next window, you’ll see the folder structure of the requested mailbox you’re looking to restore. In this example, we’ll access the Inbox:
- Locate the email you’d like to restore and select the restore button:

- Once you’ve initiated the restore, the Restore Points window will reload and display the location the item will restore to:

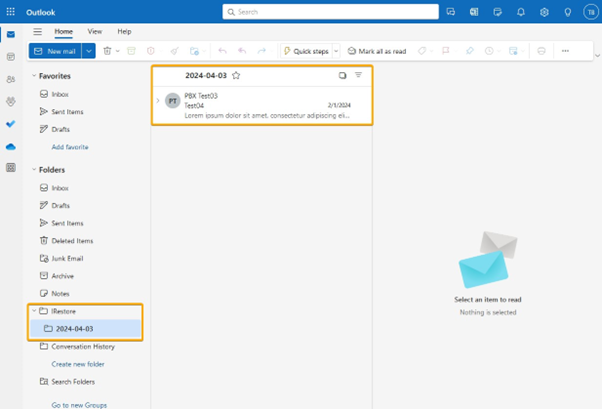
- MSP Backup will create the folder !Restore in the requested mailbox with a sub-folder for the date of the restore.
- In Outlook, we can see that the email was successfully restored:
With this guide, you will have learned how to perform an email restore using MSP Backup.