Restoring Data using Veeam Agent for Windows:
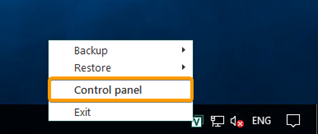
1. Open VAW Control panel from the taskbar:
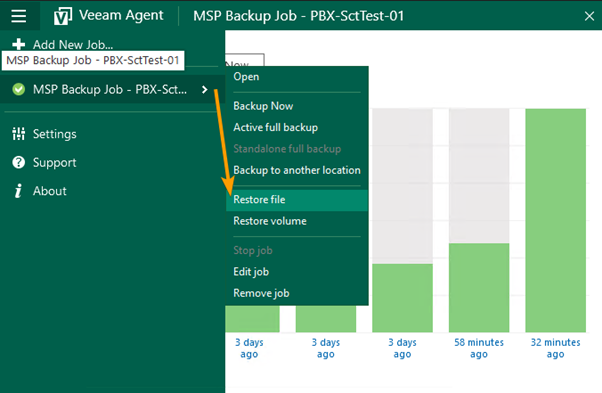
2. In VAW Control panel, select the Menu Button, hover over the backup job automatically created by Probax Scout, then select Restore File:
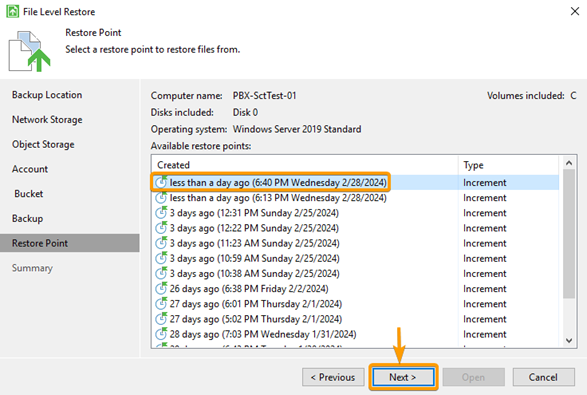
3. In the File Level Restore window, choose the restore point applicable to your needs then select Next:
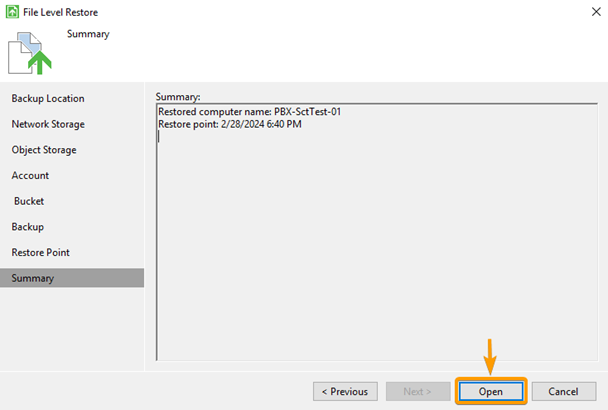
4. At the Summary step, select Open:
5. In the Veeam Backup Browser, navigate to the Folder or File you’d like to restore. Once located, right-click on the item, highlight Restore, then select Keep:
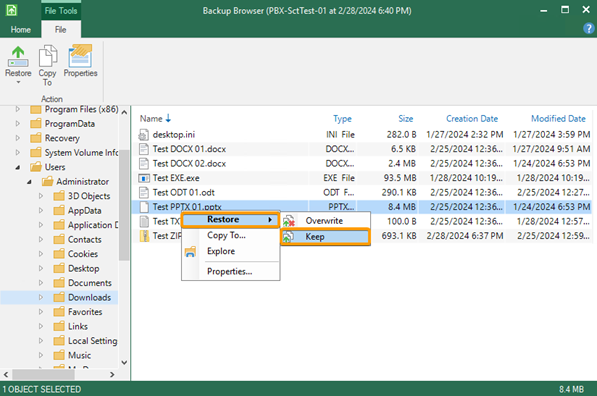
If the item already exists, Keep will restore the folder or file to its original location and prepend it with RESTORED.
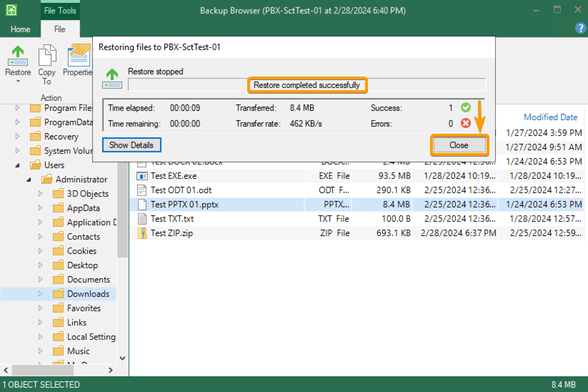
6. A new window will open with the progress of the restore. Once the restore completes successfully, close the window:
7. Navigate to where the file existed previously to find that it has been restored successfully:
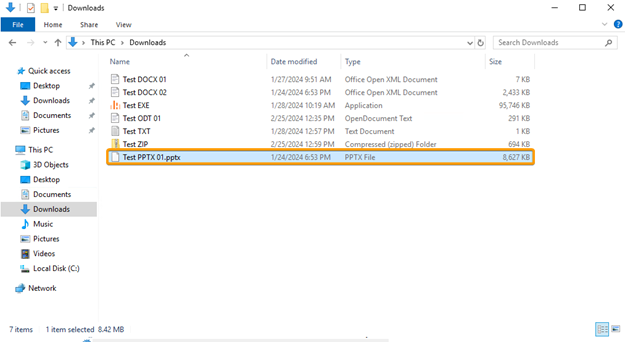
With this guide, you will have learned how to perform a File Level Restore using the backup job Scout deployed through Veeam Agent for Windows.