Does ImageManager require a license?
ImageManager does not require a license.
How does it work with Probax?
For ImageManager to replicate from the local side to Probax, you need to set up a ShadowProtect Storage Space in Hive. This allocates storage on our remote server for ImageManager to replicate the local ShadowProtect files to Probax.
How to Setup ImageManager
1. Download ImageManager from Probax Software Downloads and run the setup file.
2. Open StorageCraft ImageManager.
3. You will be presented with a screen similar to below: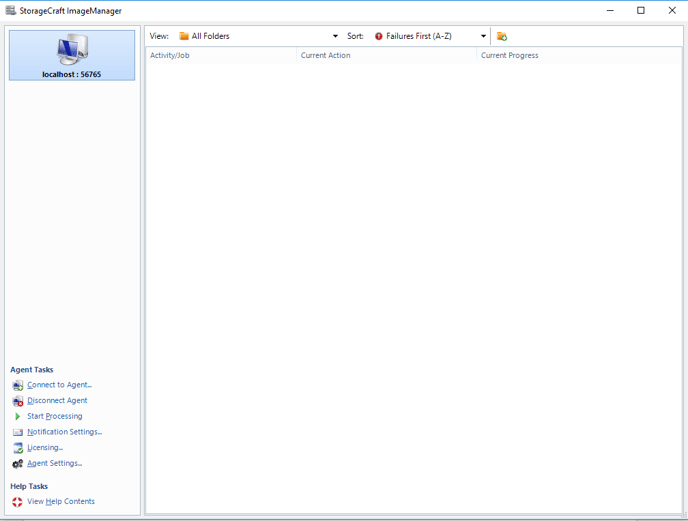
4. Right-click on the empty space, and click “Start Managing…”: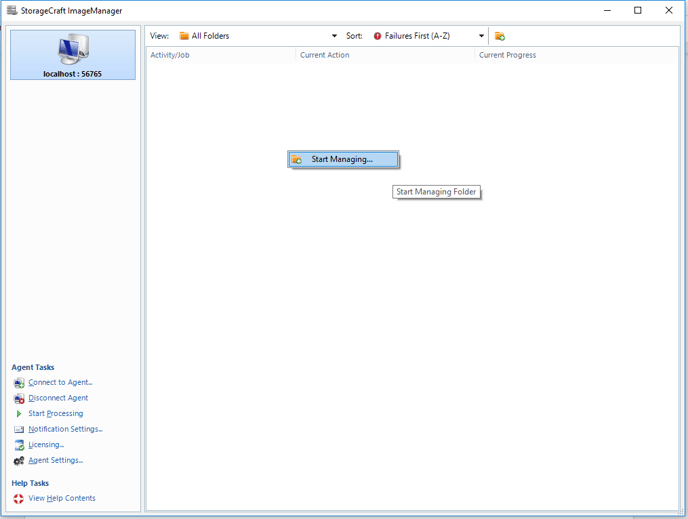
5. You will be presented with a popup menu similar to below:

The information you need to input is:
Folder Path: Destination to the folders with the ShadowProtect images.
Description: Optional description of the replication job (example: “Backup to Probax”)
Folder Type:
- Normal – A direct path to the folder containing ShadowProtect images
Example: C:\ShadowProtect\Server1 - Backup Store – A path to the parent directory of the containing ShadowProtect images.
Example: C:\ShadowProtect\
The above would automatically add the previous Server1 folder, as well as any future folders created inside this directory.
This Folder Required Authentication: The authentication credentials for the directory containing ShadowProtect images (for example, NAS devices)
6. You can optionally configure the verification and retention of the local ShadowProtect images with the Verification and Retention menu screens.
7. Click Save to save these settings. Allow ImageManager to process these settings and create your managed folder
8. Right click your managed folder, hover over Create Job and click Replication: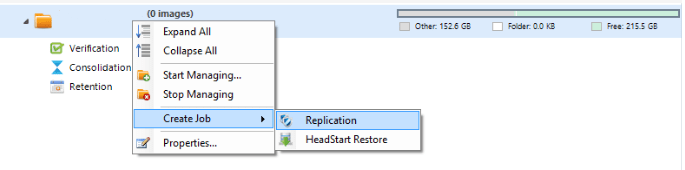
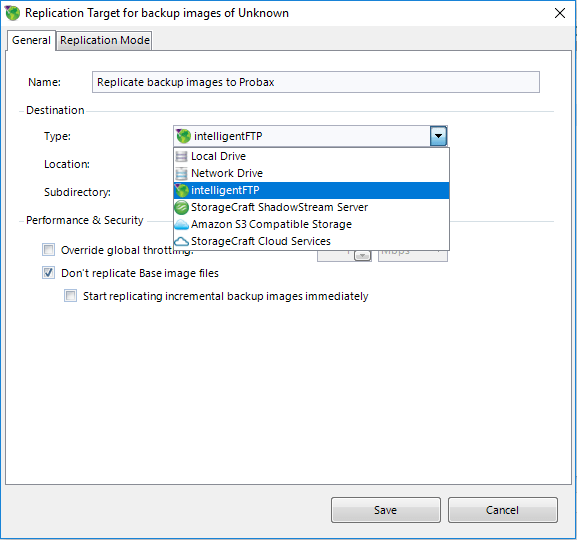
9. Modify the backup type to intelligentFTP:
10. Click on the drop-down menu next to Location and select <Add new location…>
11. You will be presented with the below screen:
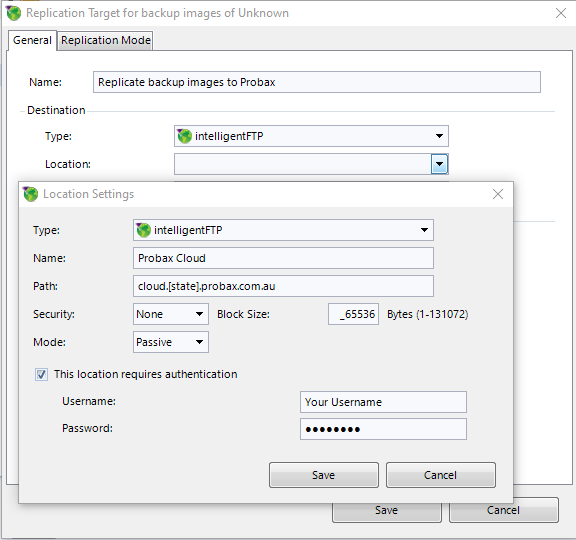
Name: Name of the backup location. (example: Probax)
Path: Domain name of your backup location. This can be found by opening your end user on Hive and clicking on “Manage Storage Spaces”.
- Username: Your Probax end user username that you defined within Hive.
- Password: Your probax end user password that you defined within Hive.
12. Click Save.
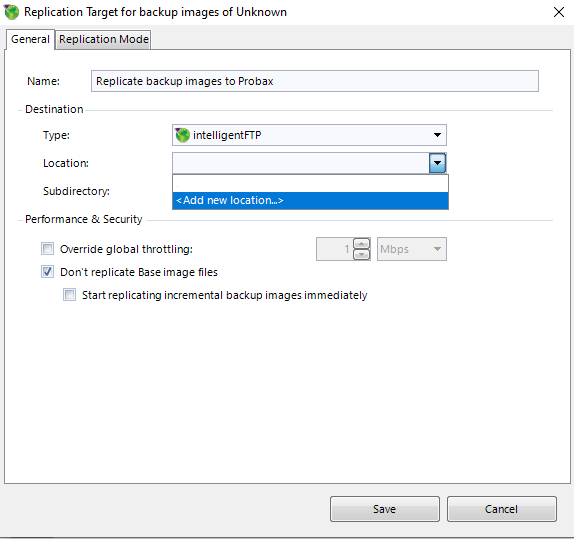
13. You will be presented with the below screen:
Name: Name of the replication job.
Type: Defined to intelligentFTP previously
Subdirectory: The name of subdirectory folder that these images will be uploaded to on the Cloud.
Don’t replicate Base image files: This option will depend on how you intend to upload your images to Probax.
- If uploading base images through the Internet:

- If seeding data to Probax on a hard drive:

14. Click on the Replication Tab. We recommend adjusting the replication mode to Yes – Replicate only consolidated daily image files.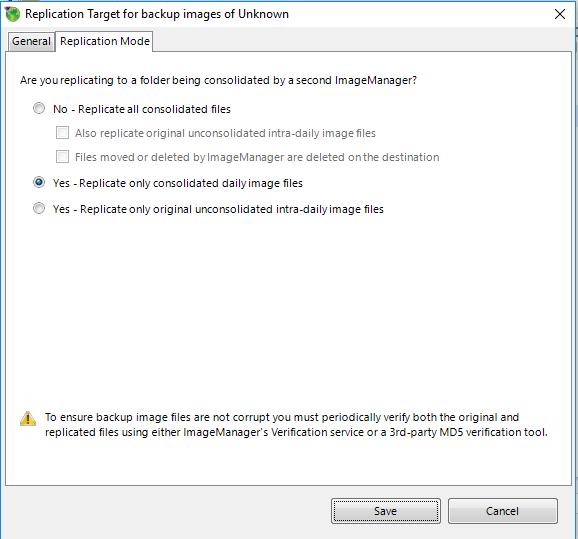
15. Click save. You are now done!