Create a Microsoft 365 Backup with Simple Authentication
Permissions:
There are several permission requirements for your Office 365 Backup to function correctly. These permissions are:
- Application Impersonation role - to get items from users. To allow this role assignment, the account must be granted the Organization Management permission.
- Organizations Configuration role - To manage role assignments.
- View-Only Configuration role - to obtain the necessary organization configuration parameters.
- View-Only Recipients role - to view the list of mailbox recipients.
- Role Management role - to manage and verify role assignments.
- MailboxSearch or MailRecipients - to backup groups.
- SharePoint Administrator role - to get items from SharePoint.
If the above roles are not granted, further processing will not be possible. The above roles can be assigned by using either of the following methods:
- Using the Microsoft Admin Portal.
- Manually, by using Exchange Management PowerShell cmdlets.
Ensure that your admin user has the appropriate permissions to access all Mailboxes, OneDrives, and Sharepoint Sites. Please note that we are not responsible for data that has not been backed up because of incorrect setup.
It is a best practice to create a separate Office 365 Admin Group and Service Account that contains the least amount of roles and is utilised purely for the Office 365 Backup connection. Further information on why this is best practice can be found in Overview: Backup for Office 365 Performance & Limitations. In order to action this, we have included instructions for both the O365 Admin Portal and via a PowerShell script.
Applying permissions for Simple Authentication
To apply the required permissions via the Microsoft Admin Portal:
- Open the Microsoft Admin Portal.
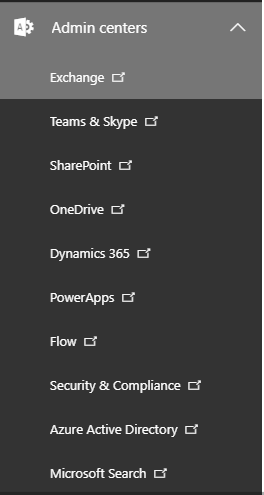
- Select the Admin Centers dropdown, and select Exchange.
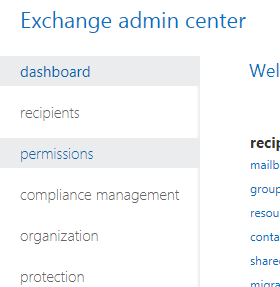
- On the left hand menu, select Permissions.
- Under the Admin Roles menu, select Add
 and provide a new name for our custom O365 Permissions Group.
 - Select the Application Impersonation, Organizations Configuration, View-Only Configuration, View-Only Recipients, Role Management, MailboxSearch and MailRecipients roles to this permission group, and assign your designated O365 account as a member to this permission group.
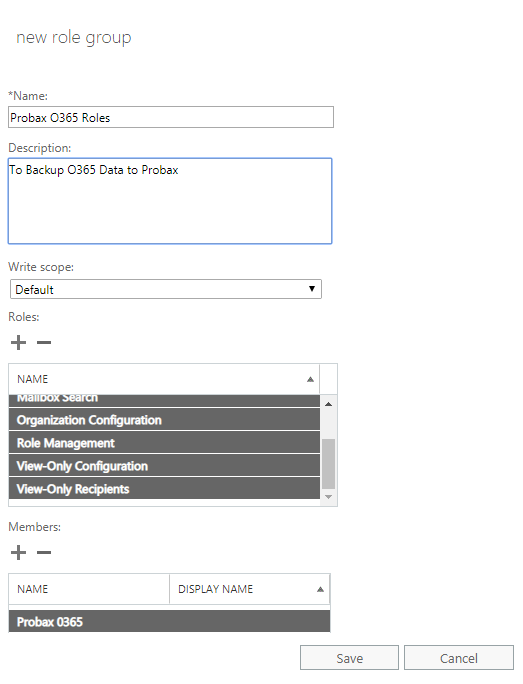
- Save the group.
- Return to the Microsoft Admin Portal.
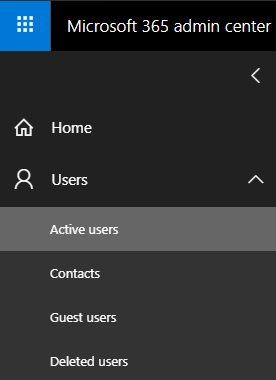
- Select Users on the left-hand side menu, and select Active Users.
- Select the user that you are assigning permissions for (Also known as the backup service account).

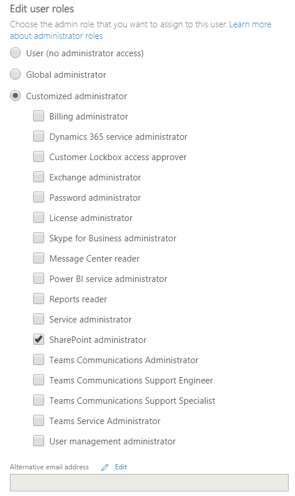
- On the menu that opens, locate Roles and select Edit.

- Select Customized administrator, and select SharePoint administrator.
- Adding an Authentication policy:
-
-
- Connect to the Exchange Online Module
- Firstly, open PowerShell as an administrator
- Install the Exchange module by running the command:
Install-Module -Name ExchangeOnlineManagement -Force - Then, import this module using this command - please select 'yes' to any questions that pop-up
Import-Module ExchangeOnlineManagement -Force - Sign in to your microsoft account, by running
Connect-ExchangeOnline
and enter in your details.
- Determine if there is a pre-existing authentication policy in place
- Run the command
Get-AuthenticationPolicy - If there is no output, then there is no policy in place and one will need to be created. Please follow the steps in 12-3
NOTE: If you receive an error in PowerShell:
"The term Get-AuthenticationPolicy" is not recognised"
Please doublecheck you have enabled the Sharepoint and Exchange admin roles for your new user as in step 11-d - If there is already a policy in place, you will need to ensure that "true" is listed for "AllowBasicAuthPowershell" and "AllowBasicAuthWebService". If it is not, it will need to be adjusted using this Microsoft Article as a guide. Once done, you will need to assign he policy to your Backup service account as in step 3-c bellow
- Run the command
- The following is an example of the commands you can use to create an authentication policy and apply the required adjustments.
- To create the authentication policy, run the following command in the opened PowerShell window:
New-AuthenticationPolicy -Name "Allow Basic Auth"
- To enable AllowBasicAuthPowershell and AllowBasicAuthWebService in the new authentication policy run the commands:
Set-AuthenticationPolicy -Identity "Allow Basic Auth" -AllowBasicAuthPowershell

Set-AuthenticationPolicy -Identity "Allow Basic Auth" -AllowBasicAuthWebService - To assign this policy to the backup service account, run the command:
Set-User -Identity <UserIdentity> -AuthenticationPolicy "Allow Basic Auth"
Note: Where <UserIdentity> is the backup service account.
- To create the authentication policy, run the following command in the opened PowerShell window:
- Connect to the Exchange Online Module
-
You have now set all required permissions for Probax O365 Backups. -
Linking your organisation account on Hive
- Log into Probax Hive.
- Within the right-hand panel, select the Accounts tab and navigate to the desired account. (In the event you do not yet have an account for your organisation, simply select Create New Account near the upper-right section of the site).
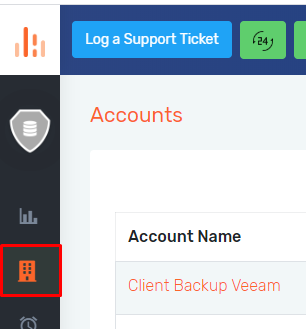
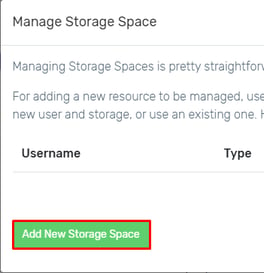
- Select the option Manage Storage Spaces at the upper-right corner of the site within the Resources tab.

- Select the option Add New Storage Space.
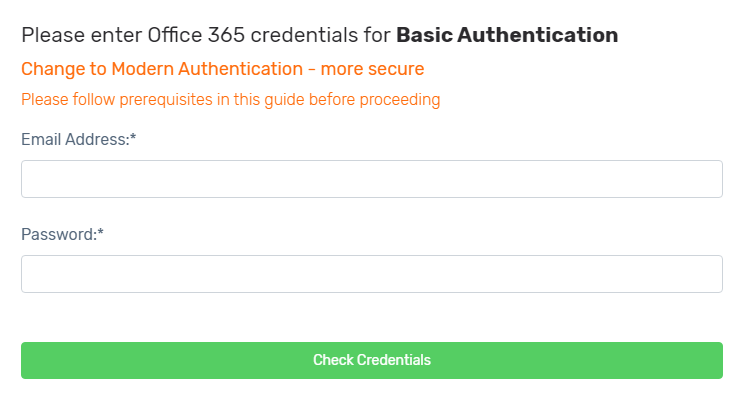
- Navigate to the Office 365 section. Select Change to Basic Authentication at the top of the wizard and fill in the required details.
- Once the account has been successfully added, your organisation will appear similar to what is shown below.