The following steps are applicable only to customers using the latest version of Veeam Backup and Replication (Version 11.0.1.1261). Head to Veeam's download page to upgrade, or get in touch with support if need be.
-
Create an object storage space in Hive
-
Create an object storage repository in Veeam
-
Add the repository as a capacity tier in Veeam
Create an object storage space in Hive
Creating object storage spaces in Hive is as simple as creating any normal storage space, though the authentication output Hive gives you MUST be recorded. Please see our KB article on creating storage spaces for more information.
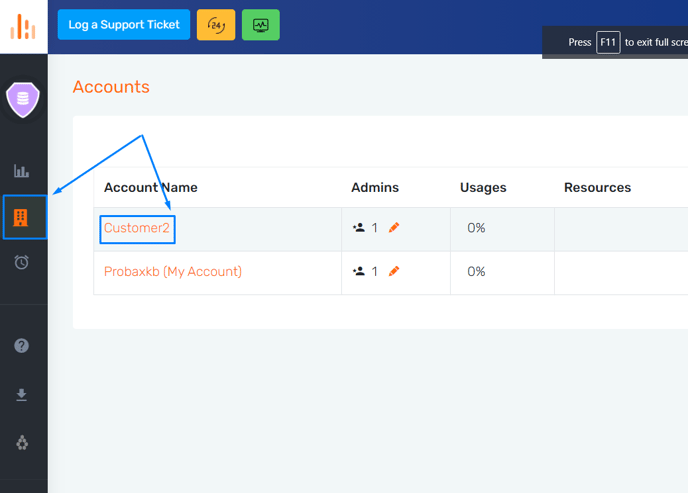
- Our first step is to navigate to the account's Hive page that the resource is situated on. To do so, first locate the account name within the list:
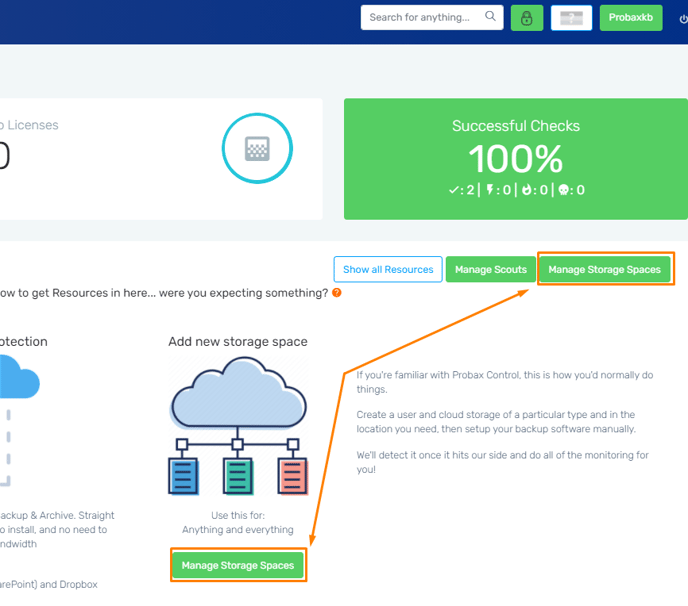
- Navigate to your customer's account and click 'Manage Storage Spaces', then 'Add New Storage Space'.
-
Then, chose the properties of your Storage Space:
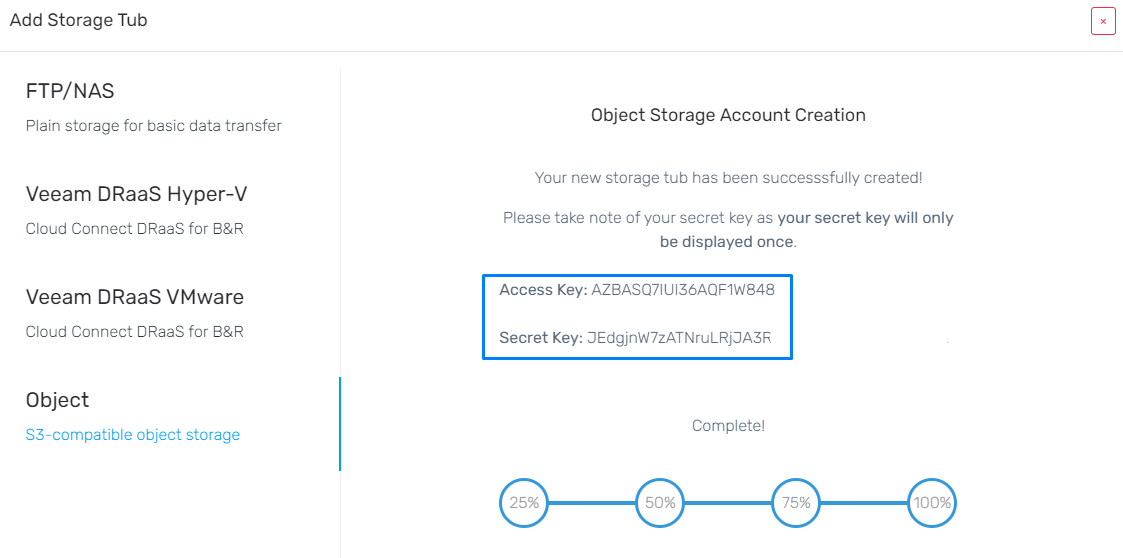
- Select 'Object' from the list
- Select the region that best suits you
- Select the option to create a bucket in this region
- Select 'Yes' to create a default bucket for this object storage space (only select 'No' for advanced users)
- Determine if you require Object Lock for this storage space (for most users, select 'No' if this is no 100% required)
More information here.
- Wait for Hive to load the storage space for you, and take a copy of the details presented on screen. Note that the Secret Key value won't be available again after this point in time.
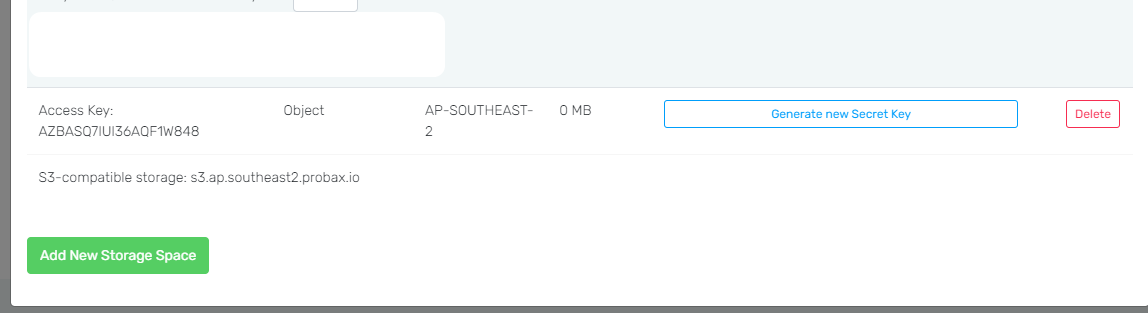
- Check the newly created storage space in the 'Manage Storage Spaces' area of Hive at any time, to review the Access key and DNS of your backup location:
Create an object storage repository in Veeam
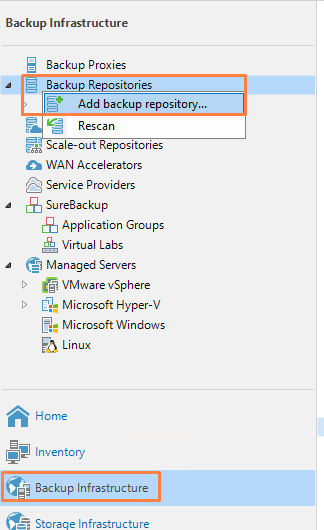
- Head to your Veeam Backup and Replication's 'Backup Infrastructure' tab and right-click 'Backup Repositories' and select 'Add backup repository...'
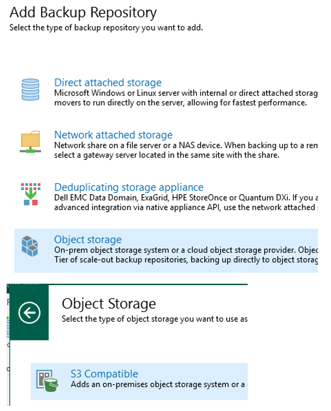
- Select Object Storage when prompted, and 'S3 Compatible' from the following menus:
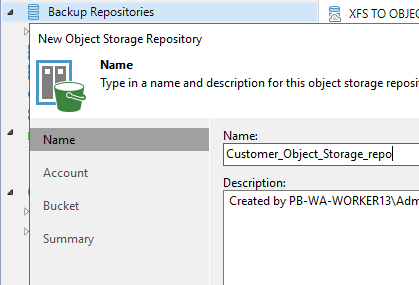
- Give your Object Storage repository a name (underscores to separate words is always best practice)
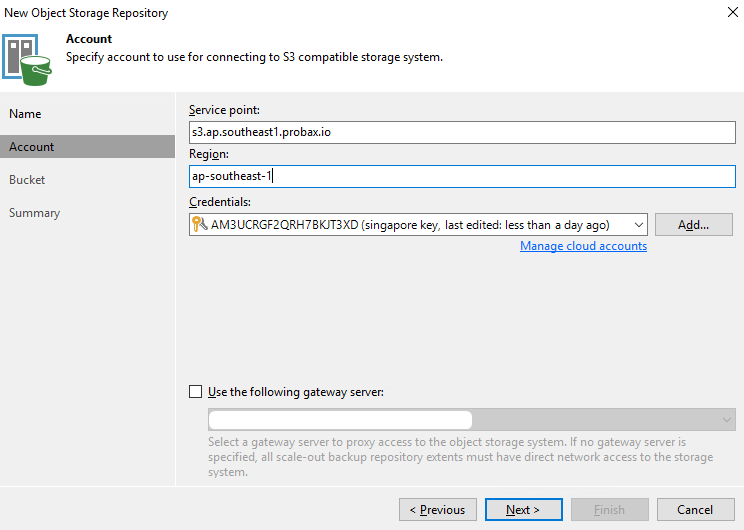
- Fill in the following details (Leave the gateway server box unchecked) + hit 'next':
- The Service point - Found in your storage space's "S3-compatible storage" area
- The Region - Found in your 'Geolocation' column of your storage space (note, when entering this into Veeam, this value must to be in lower-case, unlike the 'Geolocation')
- Credentials - The same that were obtained in part 1 of this guide

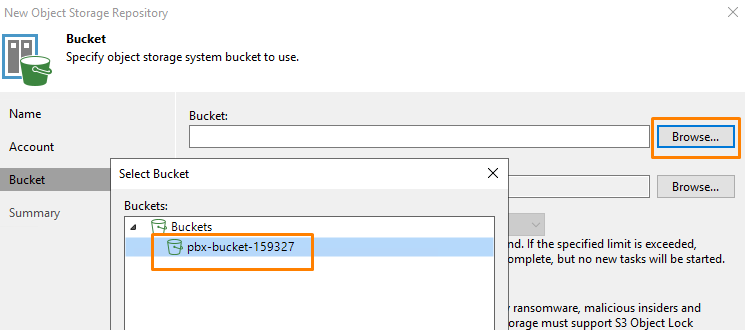
- In the 'Bucket' tab, hit the 'Browse' button next to your bucket to find the storage space's bucket.
- Select the bucket in question and hit 'OK'
- Hit 'Browse' next to the 'Folder:' drop-down to create a new folder from within your S3 bucket. Feel free to select any other bucket settings you would like, and hit 'Apply' to add the repository.
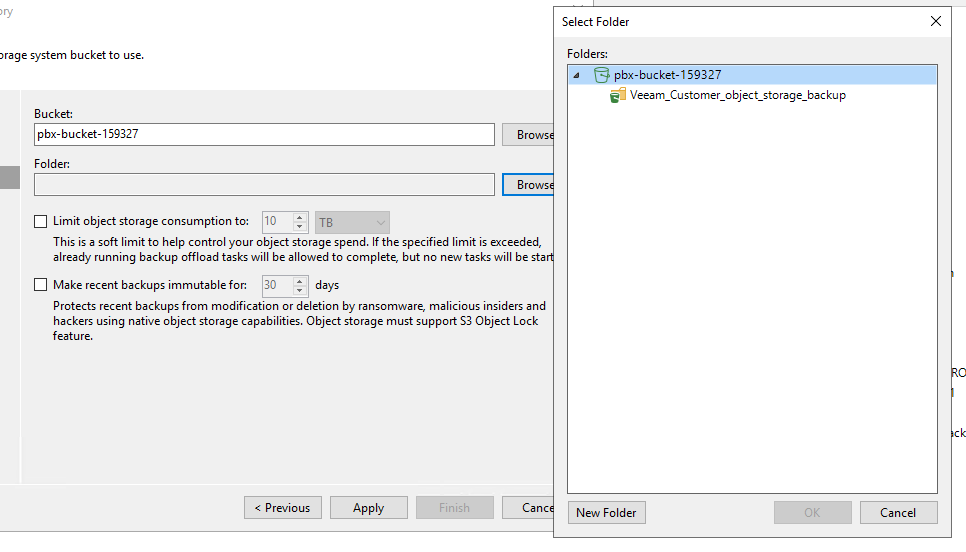
- Select the bucket in question and hit 'OK'
Add a capacity tier to a scale-out backup repository in Veeam
In order to perform the next steps, you will need to have already configured a single local backup job within Veeam. Doing so allows you to add the 'performance tier' to an already established local repository.
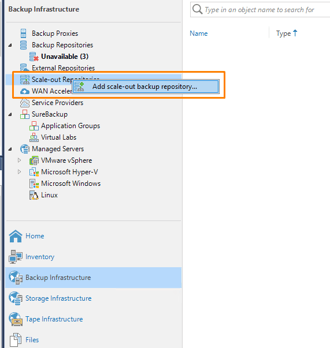
- Head to the 'Backup Infrastructure' tab within Veeam Backup and Replication, and right-click the 'Scale-out Repositories' option. Select 'Add scale-out backup repository...'
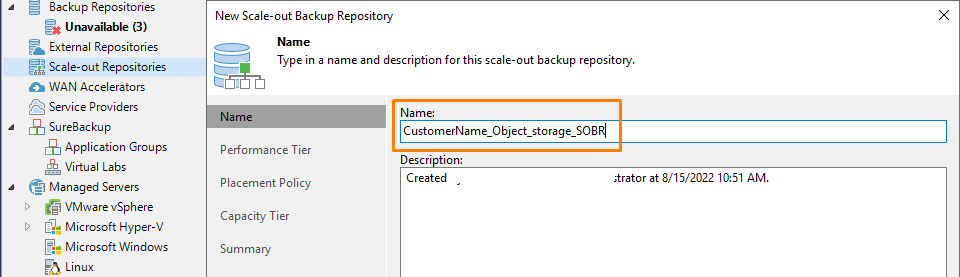
- Give this repository a name:
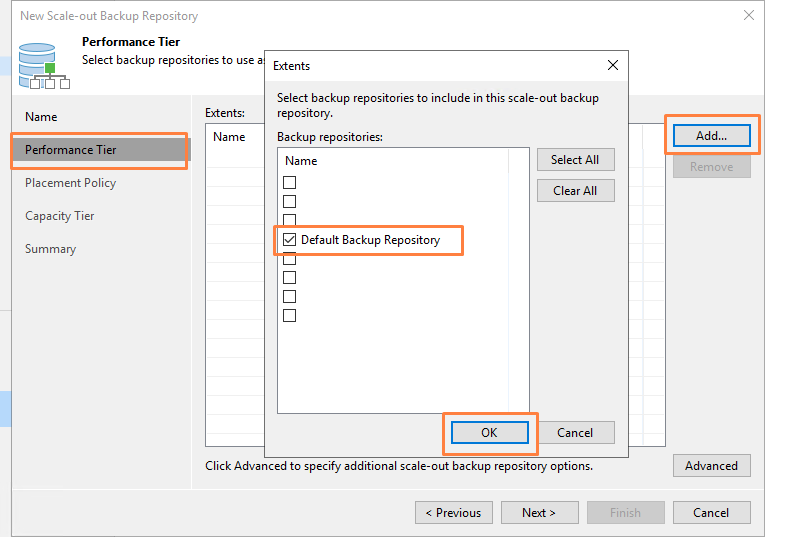
- In the 'Performance Tier' tab, add your local backup repository as an extent. This is the repository that was set up and used for local backups (generally to a NAS or external storage). NOTE: Our example is utilising the Veeam 'Default Backup Repository', though your local repository will likely have a different name.
- When you have added the local backup repository, Veeam will advise you that your jobs/backups pointing to the local repository will be redirected to the SOBR - Select 'Yes'.
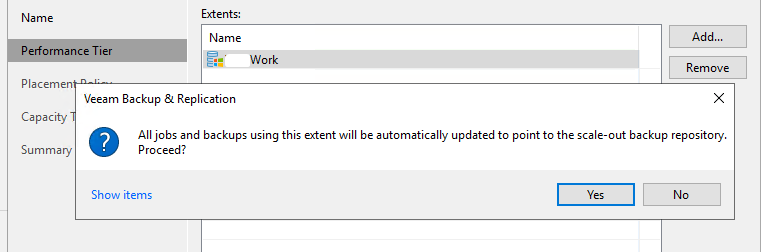
- When you have added the local backup repository, Veeam will advise you that your jobs/backups pointing to the local repository will be redirected to the SOBR - Select 'Yes'.
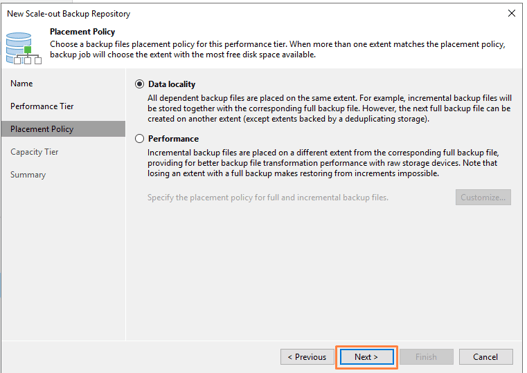
- Hit 'next' through the 'Placement Policy' tab - Data locality is ideal
- In the 'Capacity Tier' tab, select the checkbox:
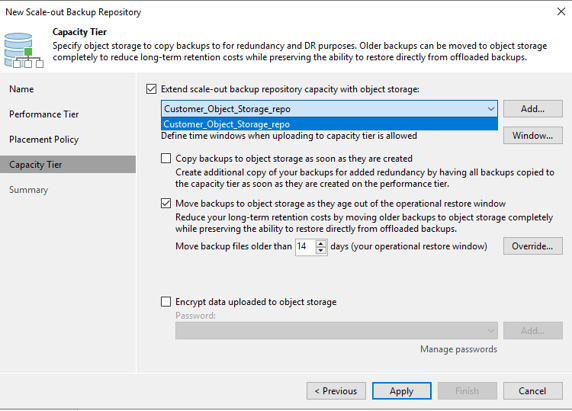
- Find your repository from the drop-down list (it will likely be your only option)
- Chose between:
A 'copy' process - Veeam will copy backup images the moment they are created)
OR
A 'move' process - Veeam will transfer backups to object storage after an allotted amount of time (similar to archival storage) - Hit 'Apply' to finalise the process.