Configuring Email Notifications for MSPs:
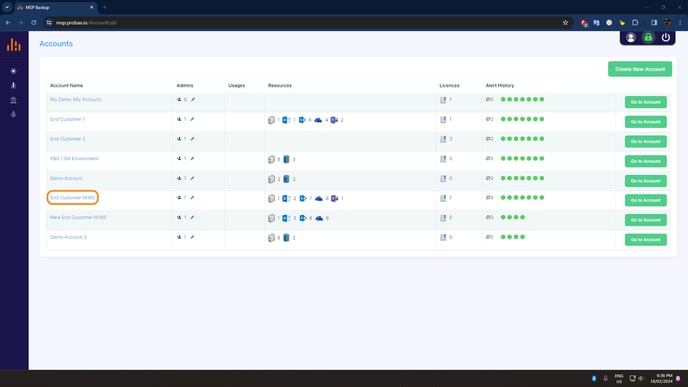
1. Log In: Access MSP Backup with your credentials and select 'Customer Accounts' from the left menu.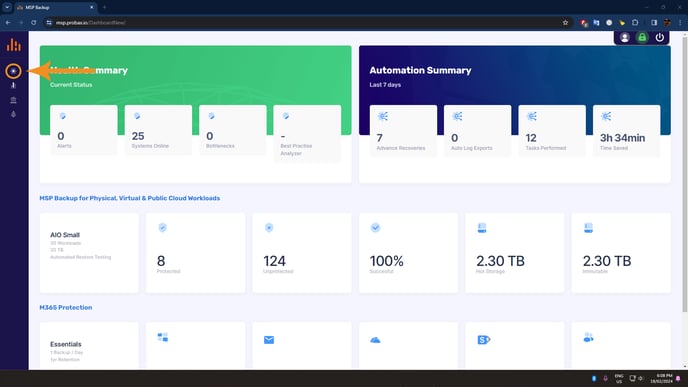
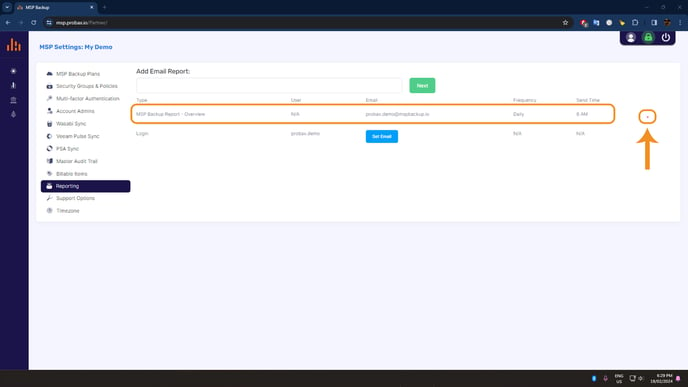
2. Reporting: Click 'Reporting' from the MSP Settings sub-menu.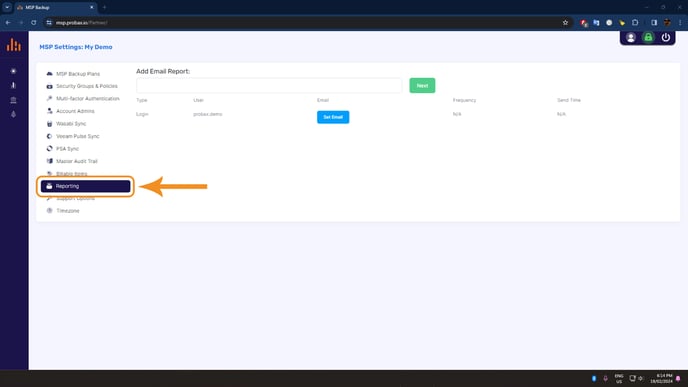
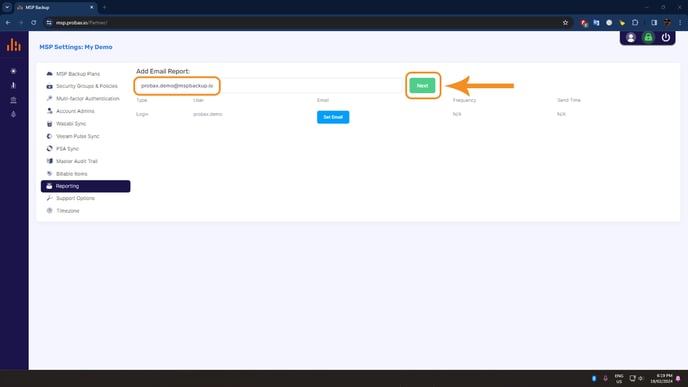
3. Email Address Configuration: Enter the email address where reports should be delivered. Click the 'Next' button to continue.
4. Select Schedule & Report Type: Choose the report's send time in local time, select the frequency of report delivery (Monday to Friday or everyday), and decide on the report type (either MSP Overview Summary or MSP Account Level Detail). Click 'Next' to proceed.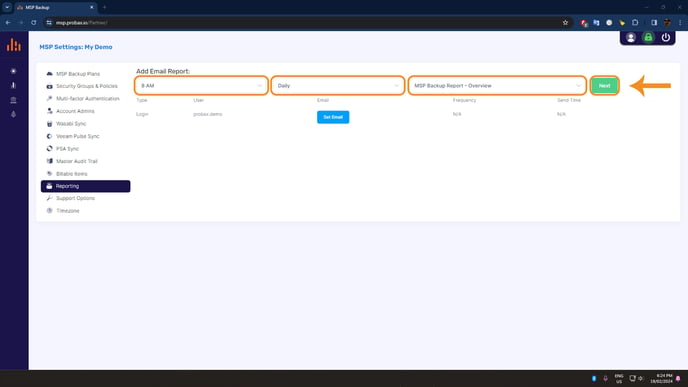
5. Confirmation: Ensure the email report schedule has been successfully added, confirming the email address, chosen frequency, and send time are correctly listed.
6. Email Report Removal: To remove an email report schedule, click on the red cross icon next to the schedule you wish to delete. Verify that the schedule has been successfully deleted from the list.
Configuring Email Notifications for Customers:
1. Open Customer Account: To set up email reporting, first navigate to 'Customer Accounts' on the left-side menu. Then, select the specific customer account you wish to configure.
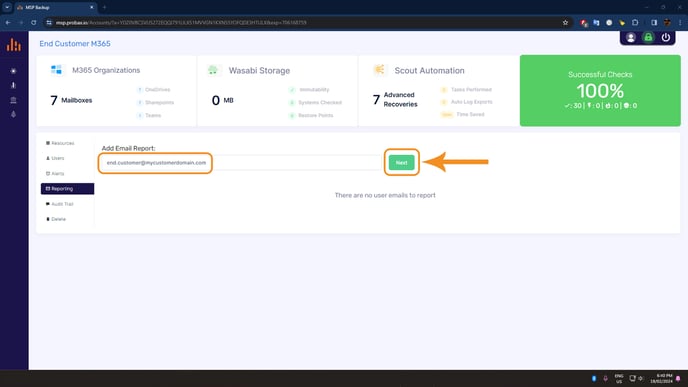
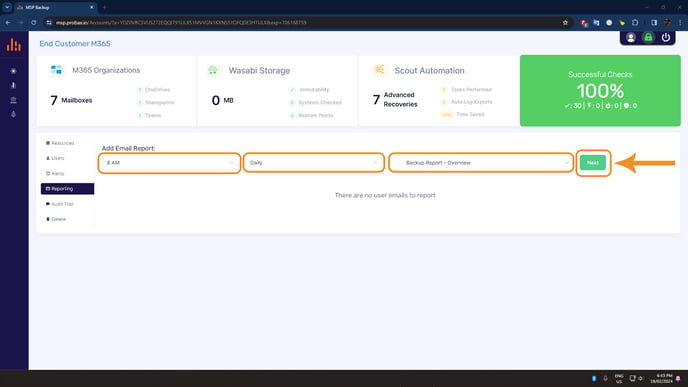
2. Reporting: Click 'Reporting' from the Customer Account Settings sub-menu.

3. Email Address Configuration: Enter the email address where reports should be delivered. Click the 'Next' button to continue.
4. Select Schedule & Report Type: Choose the report's send time in local time, select the frequency of report delivery (Monday to Friday or everyday), and decide on the report type (either Customer Overview Summary or Customer Account Level Detail). Click 'Next' to proceed.
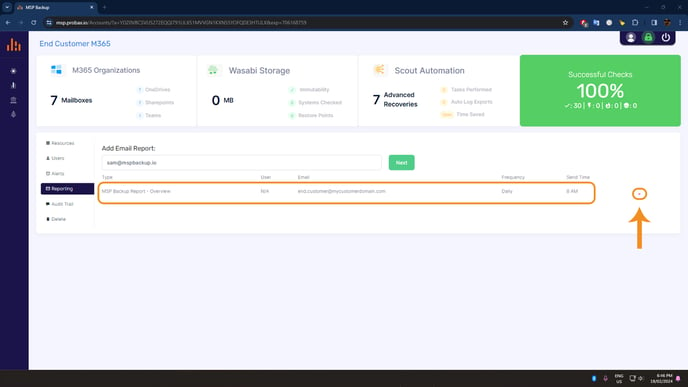
5. Confirmation: Ensure the email report schedule has been successfully added, confirming the email address, chosen frequency, and send time are correctly listed.
6. Email Report Removal: To remove an email report schedule, click on the red cross icon next to the schedule you wish to delete. Verify that the schedule has been successfully deleted from the list.
By following these steps, MSPs and their end customers can ensure they are always informed about their service status, updates, and any critical alerts through automated email reports. This feature enhances transparency, promotes proactive management, and supports effective communication between MSPs and their clients.