To replicate virtual machines, Veeam leverages the local hypervisor snapshot capabilities. The replica sent to Probax contains information on the local virtual machine configuration, applications, data, system state and more. In a disaster recovery scenario, Probax uses the snapshot and associated information to enable you to failover your local environment to Probax Cloud.
Requirements
There are two primary requirements that need to be fulfilled before a Cloud Failover Plan can be created:
- Veeam Backup and Replication must be installed on the local site.
- A Veeam Second Colony Storage Tub must be created on Probax Hive.
- A Probax Hardware Plan must be created in Probax Hive.
- A Local Repository must be created to host your Veeam Replica metadata.
Creating a Replica Job
Once you have fulfilled the aforementioned requirements, you create your replica job:
-
- Initiate the Replica Job Creation Wizard:
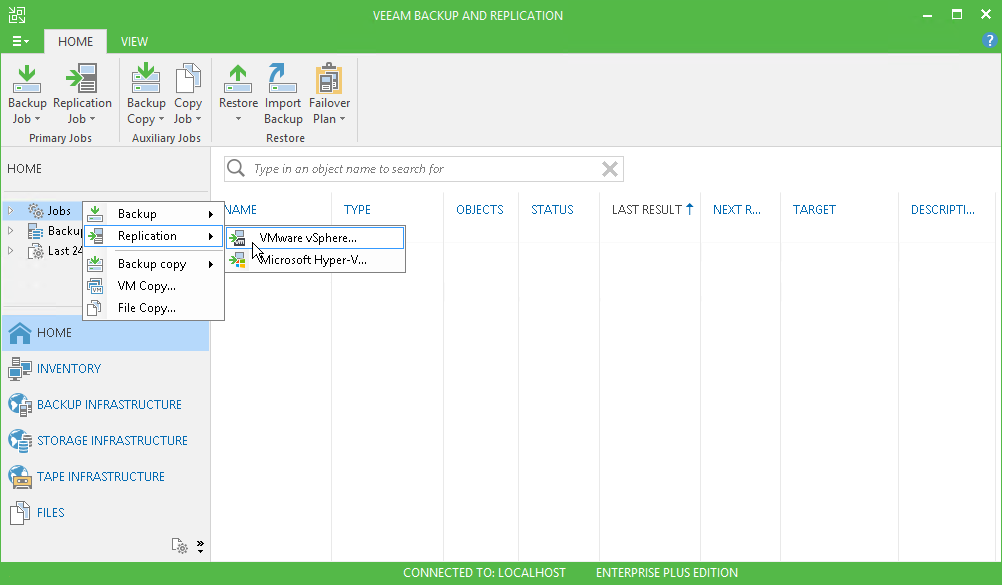
- Specify a Name and Description of your Veeam Replica Job.
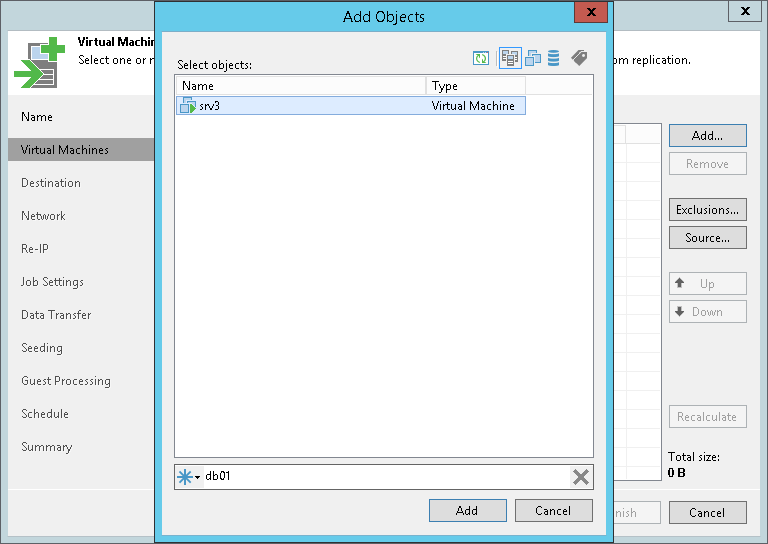
- Select the "Add" button. Choose the Virtual Machines that you'd like included in your Veeam Replica Job.
- At the Destination step of the wizard, select Choose (located within the Host or cluster section), and select Cloud host. Select the cloud host provided by Probax from within your Probax Hardware Plan. If you do not see Probax as an option, you either need to create your Probax Hardware Plan, or need to Rescan your Veeam Service Provider from within the Veeam B&R Console.
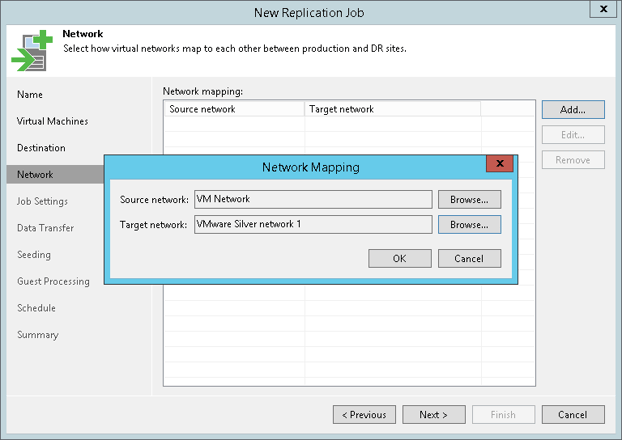
- At the Network step of the wizard, select Add and select the local production network for each virtual machine in the job and point it towards the network on the cloud host to which VM replicas must be connected. Repeat this for each Linux-based virtual machine. The majority of Windows virtual machines will perform automatic network mapping based on information inside the Veeam replica images.
- At the Job Settings Menu, select a repository for your Veeam replica metadata. Veeam will store metadata for all replica virtual machines in this location, such as checksums required for incremental jobs.
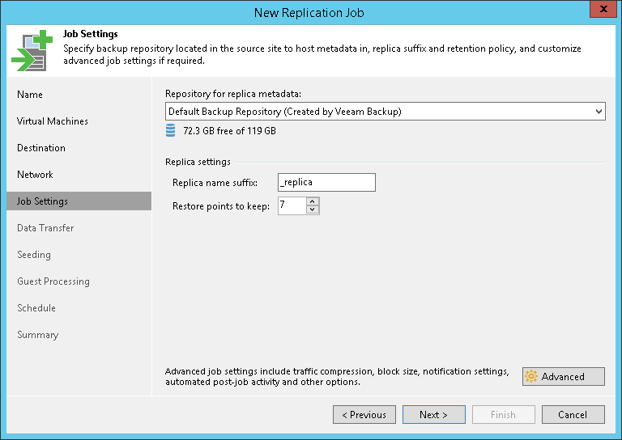
Inside the Restore points to keep field, set the retention that you'd like to maintain for your replica jobs. We advise keeping this number as low as possible for optimal performance (ideally between between 3 and 7).
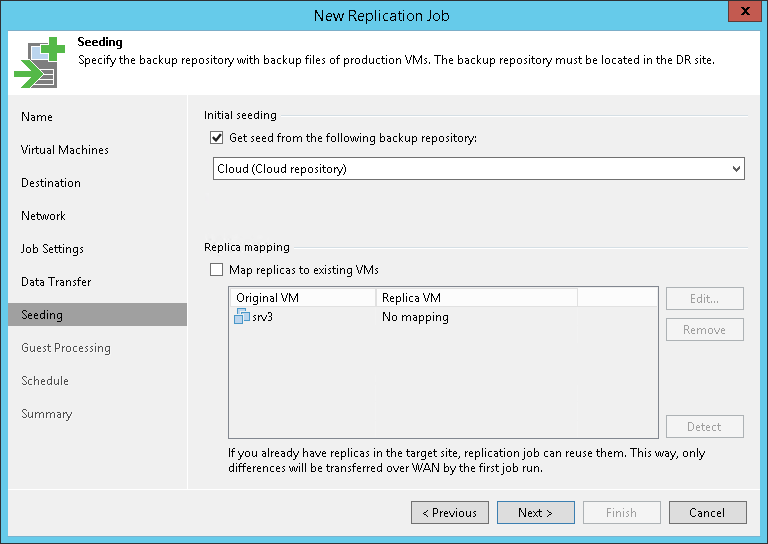
- At the seeding menu, in the event that you seeded your replica jobs, point each replica virtual machine to its corresponding value on the local infrastructure.
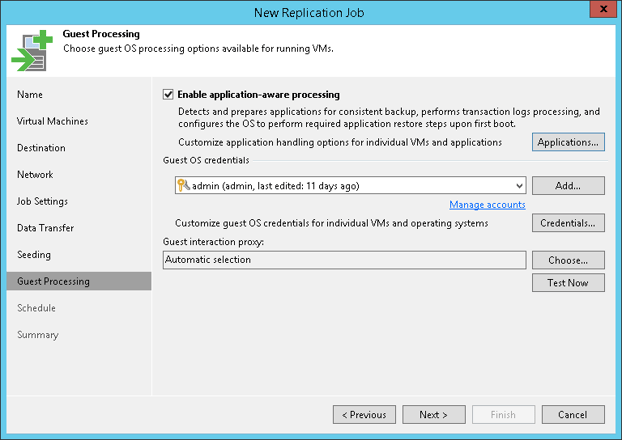
- On the Guest Processing section, enable Application-aware processing. This allows for greater local networking detection and transactionally consistent replica virtual machines. You will need to provide an administrative Guest OS Credential set, which can be defined on a per-VM basis.
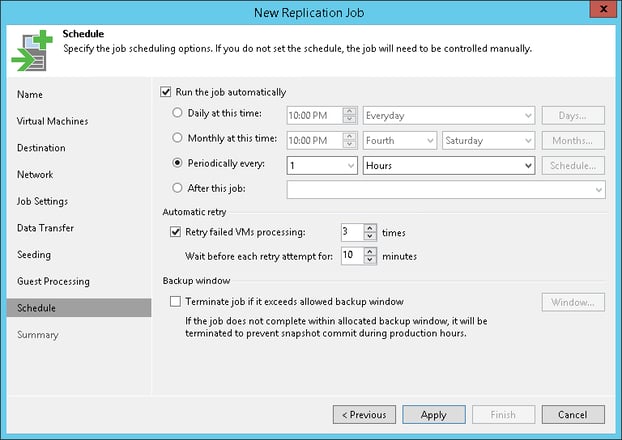
- At the Schedule menu, define how frequently you would like your replica job to run.
- Review the summary page and select Finish to create your Veeam Replica Job.
- Initiate the Replica Job Creation Wizard:
For technical support questions, please contact support@probax.io
For sales and product information, contact your Partner Manager.