Veeam Cloud Failover Plans are created in order to perform a fullsite failover in the event of disaster recovery. The Cloud Failover Plan is designed to enable one-click failover to the Probax Cloud environment, either from your local Veeam Backup and Replication Console, or from Probax Hive.
There are two primary requirements that need to be fulfilled before a Cloud Failover Plan can be created:
- VMs that you plan to include in the failover plan must be successfully replicated at least once.
- You must have a Hardware Plan defined in Probax Hive.
Creating Cloud Failover Plan
Once you have fulfilled the above requirements, you create a Cloud Failover Plan by following the below steps:
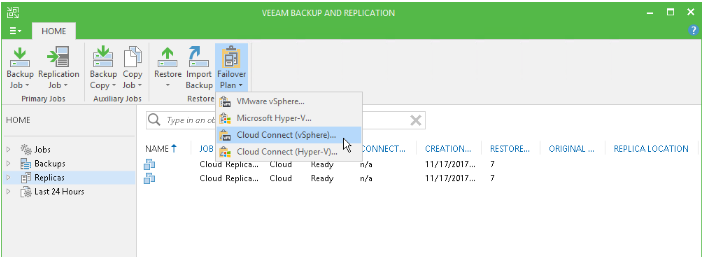
- Initiate the Cloud Failover Plan Creation Wizard:
- Specify a Name and Description of your Veeam Failover Plan.
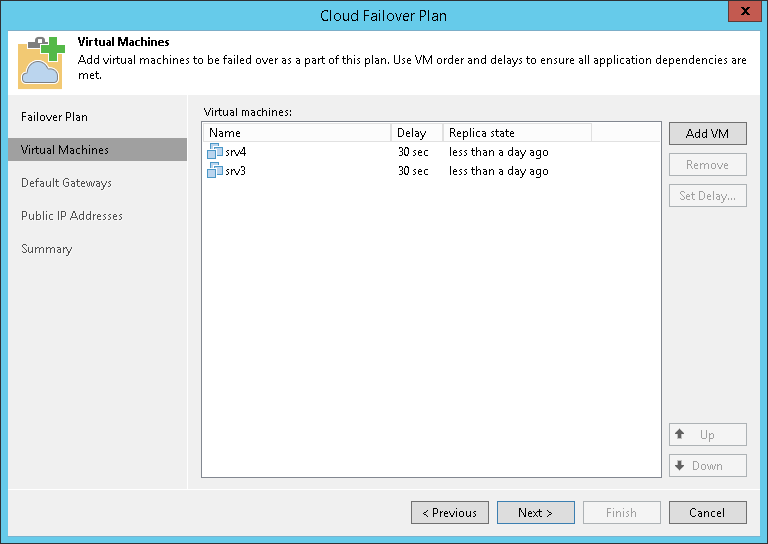
- Select the "Add" button. Choose the Virtual Machines that you'd like included in your Veeam Failover Plan.
- Specify your Default Gateway settings for every IP network in the production site that are used by VMs added to the Cloud Failover Plan. Click on "Manage default gateways" shown in the screenshot below to make changes:
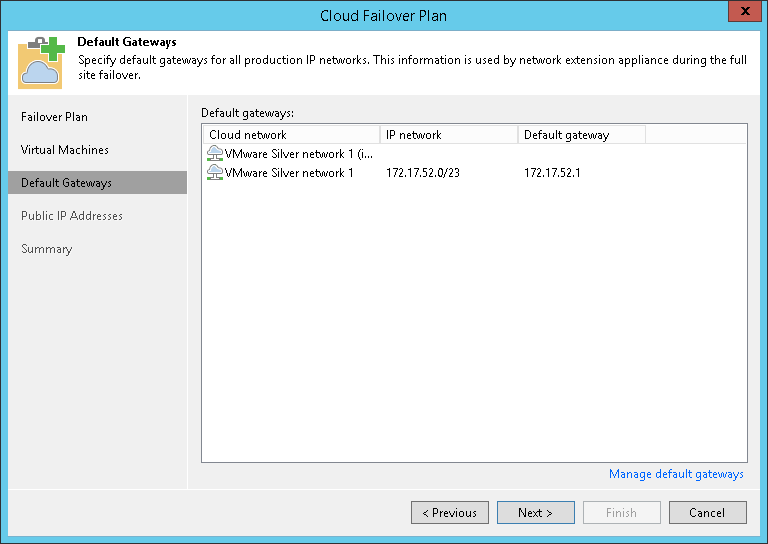
In the event of a full site failover, Veeam uses the Network Extension Appliance in Probax Cloud as a default gateway between the VM replica network and external networks. As a result, VM replicas on the cloud host can communicate to the Internet in the same way as the client environment.
After the first successful replica job towards Probax, Veeam Backup & Replication detects the network settings of the replicated VMs and automatically saves the information about default gateways that are used in every detected network. You can modify default gateway settings in the Veeam Backup & Replication console. The specified settings will be used by the network extension appliance after performing a cloud failover.
If the client environment runs multiple interdependent VMs connected to several networks, you can tick the "Route traffic between these networks". This option is available under the "Manage default gateways" screen: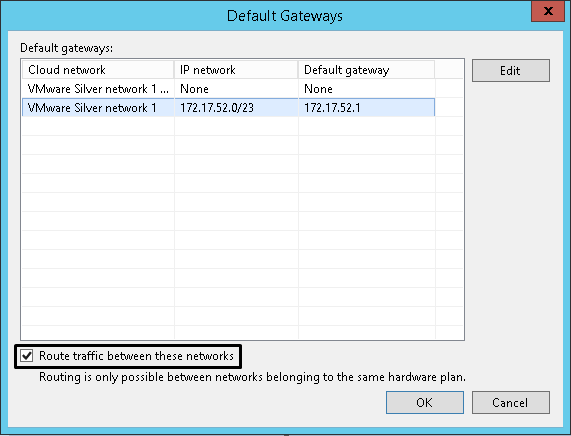
- Assign the Public IP addressing settings for VM replicas.Note: This step requires you to have requested a public IP in your Hardware Plan.When your client environment fails over to Probax using your Cloud Failover Plan, Veeam assigns the public IP address to the Network Extension Appliance. The Network Extension Appliance will redirect all network traffic towards this designated public IP address to the IP address of the VM replica. A VM replica can be accessed over the internet like a production VM, without interrupting the production site. To setup port forward rules, select Add to open the Public IP Address Mapping Rule Wizard.
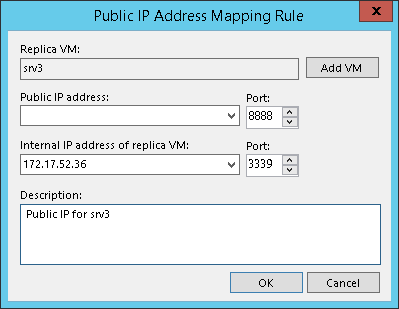
The options are as follows:
Replica VM - The VM that you intend to create a port-forward.
Public IP Address / Port - The public IP assigned to you within the Probax Hardware Plan, and the public-facing port you want to forward.
Internal IP Address of replica VM / Port - The IP address of the VM replica in the internal network, and the local port you want to forward to.
Description - An optional description for your own reference.
Input these settings for each relevant port you need to forward. - Review the summary page and select Finish to create your Cloud Failover Plan.
For technical support questions, please contact support@probax.io
For sales and product information, contact your Partner Manager.