To create a backup repository:
- Open Veeam Backup and Replication Console
- On the bottom left hand side, select Backup Infrastructure
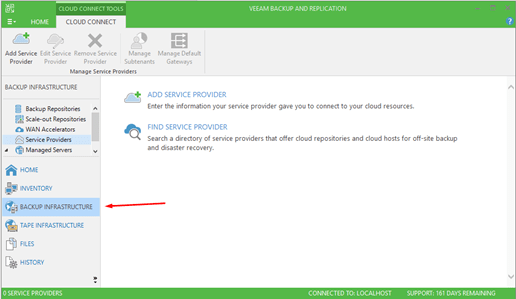
- On the top left, underneath Backup Infrastructure, select the Backup Repositories option:
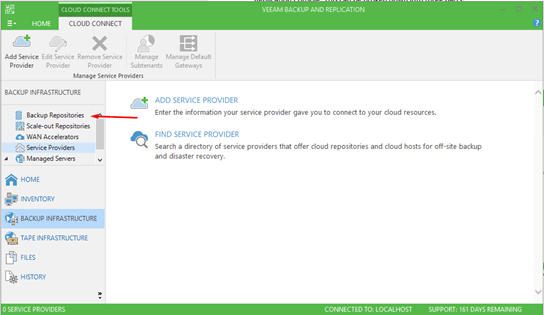
- Add Repository on the top left hand side. This will open a Backup Repository Creation Wizard.
- Start by choosing the name that you’d like to name your repository. For the purpose of this guide, the name will be “Local Backup Storage”:
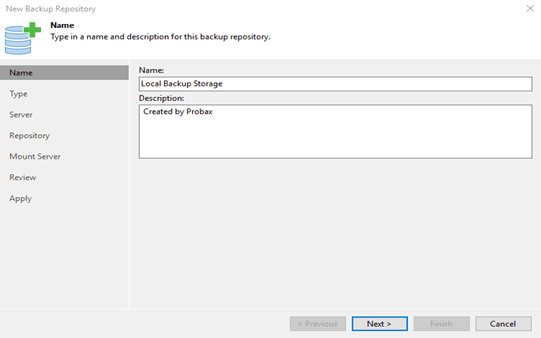
-
Select the type of backups. The two most commonly chosen are:
- Microsoft Windows Server – For local or attached hard drives.
- Shared Folder – For UNC paths
Note: This guide will be using an internal storage for demonstration. Due to this, we’ll be selecting Microsoft Windows Server. If you used an alternative backup type, the subsequent dialogue will be different.
- Select the repository server. To view available hard drives, click “Populate”.
- Choose the folder location for where you would like the backup images to be stored.
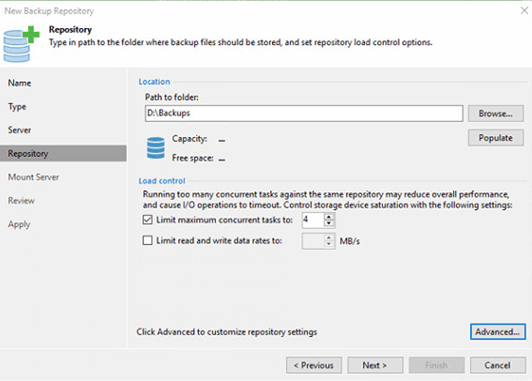
You can further modify the number of concurrent tasks and limit the read/write speed. In most scenarios, the default is acceptable. - Choose the mount server that will be used for restores. This can be set to localhost or another machine on the network. For most scenarios, the local machine is acceptable.
During the restore process, Veeam Backup & Replication will mount the disks from the backup file residing on the backup repository to the mount server. As a result, data will not have travel over the network, which will reduce the load on the network and speed up the restore process. - Review the settings and apply.